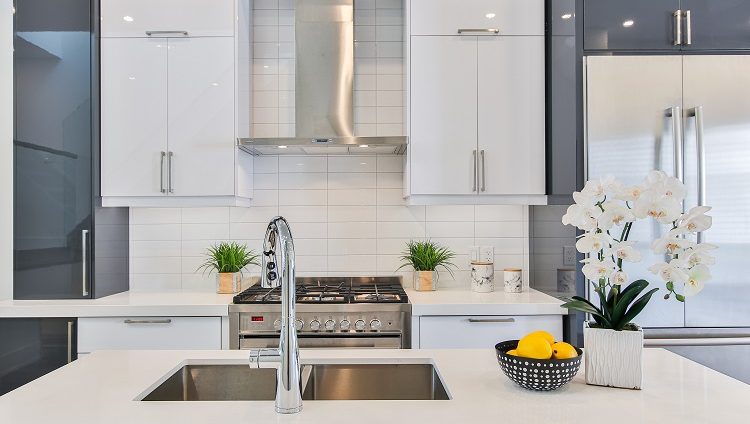
In many instances, a new coat of paint in a different color is all that’s necessary for a kitchen remodeling project! Changing the paint on the kitchen cabinet, say, from dark cherry on cherry to natural cherry will change the ambiance in the area without getting new cabinets. Enjoy the benefits of such a remodel, more affordable cost, and less downtime because it can be performed as a do-it-yourself project that could be yours soon.
Here then are the steps to changing the color of kitchen cabinets instead of buying a new cabinet replacement.
Step 1: Remove the Doors and Drawers
The doors and drawers of the cabinet must first be removed to make it easy to paint its interiors and exteriors. The pulls, latches, and knobs as well as screws, among other hardware, must also be removed and placed in plastic bags for safekeeping. The doors must be numbered for later installation; mixing up the doors between several cabinets can result in misalignment between the hinges and doors.
Step 2: Clean the Cabinets
Dirt, grease, and grime can easily accumulate on the surface of the wood and their removal will make it easier for painting later on. Use a water-trisodium phosphate mix to sponge both sides of the cabinets and then wipe off with a clean, dry cloth. Be sure to use gloves as the mixture can have side effects on the skin.
Step 3: Repair the Surface Defects
Because the kitchen cabinet is one of the most used cabinets in the house, it will most likely have holes, dents, and gouges from the cans, silverware, and other items placed in it. These surface defects on the wood must then be repaired by filling these with wood filler and then hardener; just be sure to follow the instructions on these products for best results.
Step 4: Sand and Clean Its Surface
After allowing the filled areas to dry, smooth out the surface of the cabinets with sandpaper. The goal is to provide the new coat of paint with a firm, clean surface base for better adhesion so roughening up the surface will suffice. Just be sure to pay closer attention to shiny areas requiring deglazing, worn areas with the old finish, and stubborn finishes requiring rubbing with fine steel wool and denatured alcohol.
In case of old paint flaking off in places, sand these areas until the bare wood is visible and then follow with primer/sealer to remove the stain before applying the new coat of paint. The flaking paint is usually due to accumulated moisture and grease in any kitchen. When sanding to bare wood, blend the edges between the old paint and the wood so that the new paint can lay flat on the surface instead of bulging in places.
To remove the sanding dust, thoroughly vacuum the cabinet and then wipe down the surface with a tack cloth.
Step 5: Paint the Surface
The last step should be the easiest especially when the right tools are used.
Apply the primer using a high-quality brush for a well-bonded finish coat later on.
Apply the semi-gloss latex paint. Start from the inside edges, followed by the outer cabinet sides, and then the face frame fronts.
Apply paint on the drawer fronts and cabinet doors.
Let it dry.
And voila! Your kitchen cabinets will look like new cabinets for less cost, more beautiful, at that. Who says that you have to purchase an expensive replacement?
- By: admin
- Tags: kitchen cabinets
- Category: Kitchen Cabinets
- 0 comment
Leave a Reply